In this post I’ll be demonstrating my ability to configure a cisco router, switch and two PCs.
This demonstration will be rather short. I will be expanding the network in future posts by adding devices, more routers and implementing some network security protocols.
Below I've added all of the components of the network we'll be using.
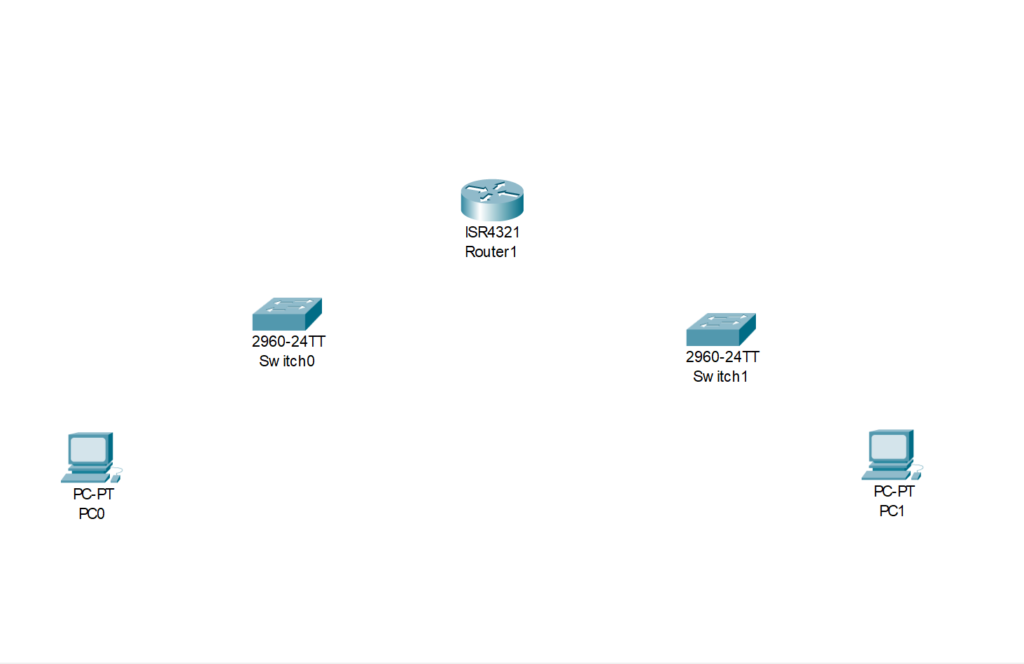
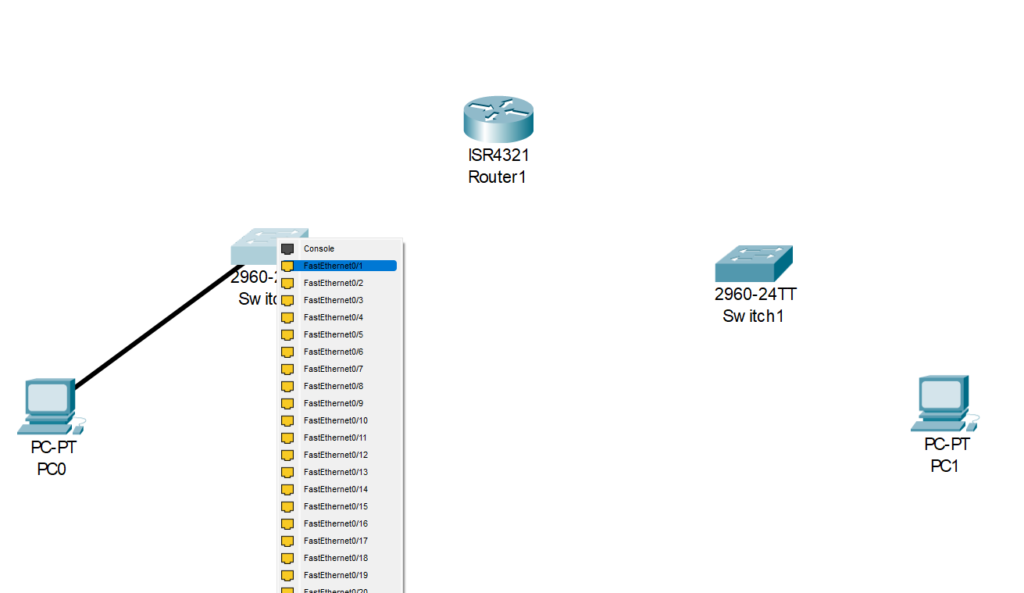
Now we need to take our copper straight-through cables and plug them into the ethernet ports of our switches, then from the switches we do the same into the router’s Gigabit ethernet ports on both sides of the router.
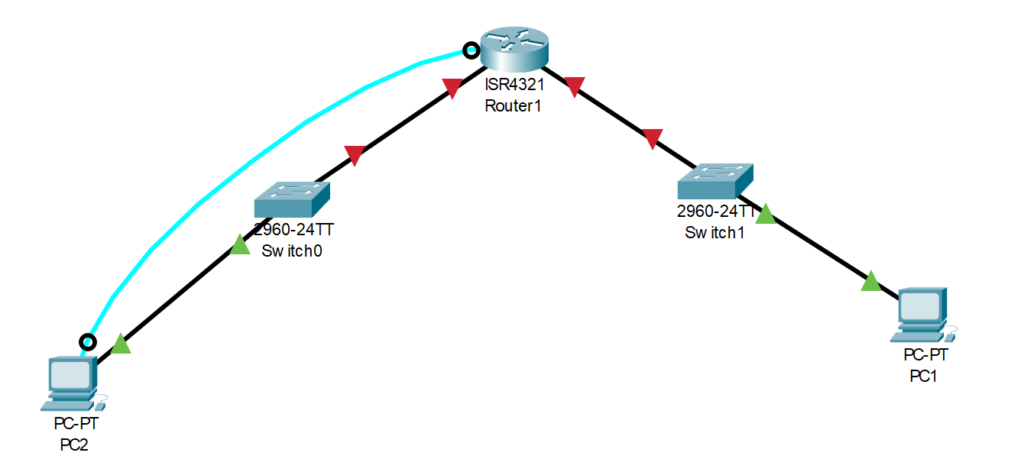
Next, lets go ahead and connect our console cable into the RS232 port on our PC (the light blue cord) then into the console port on the router. This will allow us to console into the router and administer make commands in the CLI.
From here we need to first use the
Enable > config tcommands to prep the router for configuration. To navigate to the interface of a specific port you must specifyint g0/0/0 - g0/0/1| once you’ve specified which port to input your IPv4 address in and subnet mask in, bring the ports online by using the no shut command for each port.
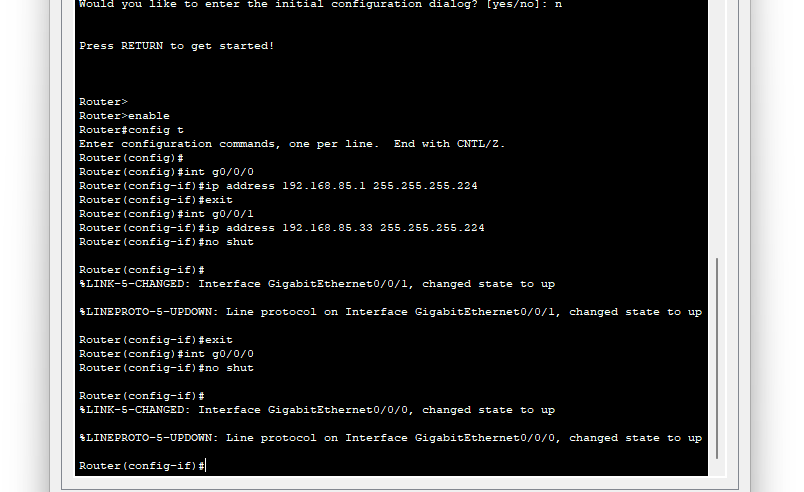
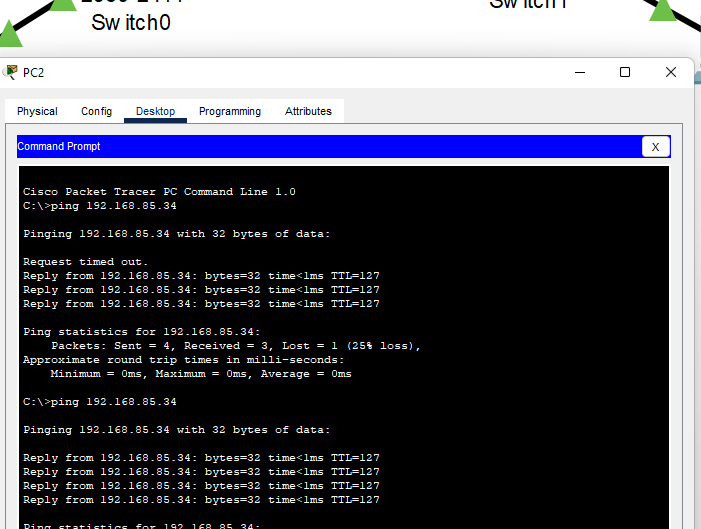
Just like that, our router is up. Now just go in and use your IP scheme selected to number your devices. Remember that your Gigabit ethernet ports must be used as your default gateway in order to get a successful ping across the network.
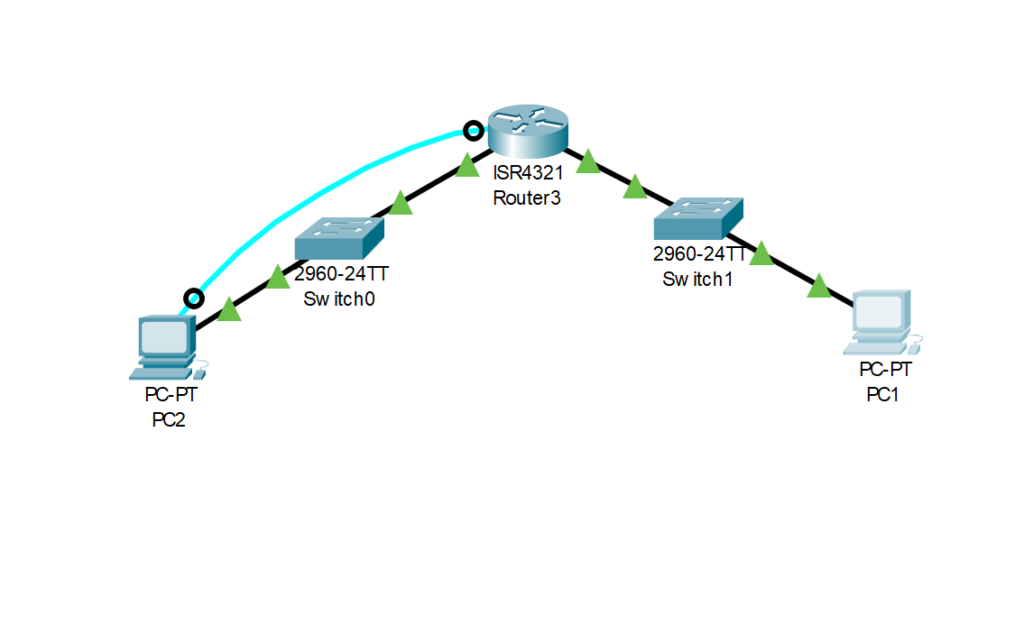
Illustration of a successful ping from PC2 to PC1.


No responses yet